Production MDM server setup
Prerequisites
- Ubuntu 24.04 LTS server (for testing, a virtual machine having 4 Gb RAM, 2xCPU, 20 Gb SSD is recommended) Hardware requirements for production
- SSH access
- Domain name bound to the public address (we used build.h-mdm.com)
- Open ports
- Direct access to the Internet (at least during the installation)
- Public IP (IPv4) address
- Remote control module (Enterprise license only) requires CPU architecture x86-64. To check the CPU architecture, run the lscpu command, or ask the hosting provider.
The setup should be done as root.
At a glance
In this video, we set up a server from the very beginning (creating a VM).
1. Install required software
apt update
apt install -y tomcat10 postgresql vim certbot unzip net-tools
2. Setup the database
su - postgres
psql
postgres=# CREATE USER hmdm WITH PASSWORD 'topsecret';
postgres=# CREATE DATABASE hmdm WITH OWNER=hmdm;
postgres=# \q
exit
Notice: you may wish to use your own password for better security. Remember it and use at step 4 when running a Headwind MDM installation script.
3. Download and unzip the binary installer
Notice: get the URL of the latest web installer version on the “Download” page.
wget https://h-mdm.com/files/hmdm-7.03-install-ubuntu.zip
unzip hmdm-7.03-install-ubuntu.zip
cd hmdm-install/
Alternative: build Headwind MDM
git clone https://github.com/h-mdm/hmdm-server-v7.git
cd hmdm-server-v7/
apt install -y maven
cp server/build.properties.example server/build.properties
cp plugins/audit/build.properties.example plugins/audit/build.properties
mvn install
4. Install Headwind MDM
To start installation, run the console command:
./hmdm_install.sh
We recommend to confirm suggested answers to the installer questions (install required software, Tomcat upgrade, etc.).
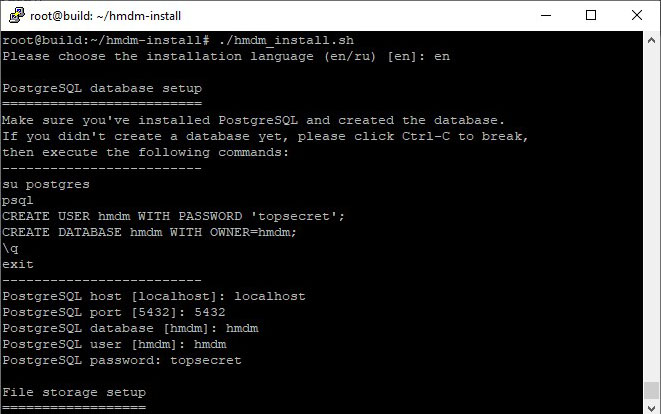
Important: Tomcat works in a “sandbox” where only a few subdirectories in /var/lib/tomcat10 are writable by default. Headwind MDM default storage is in the Tomcat cache directory (/var/lib/tomcat10/work). To be able to use an alternative storage (for example, /var/lib/tomcat10/hmdm), add the directory to the service configuration.
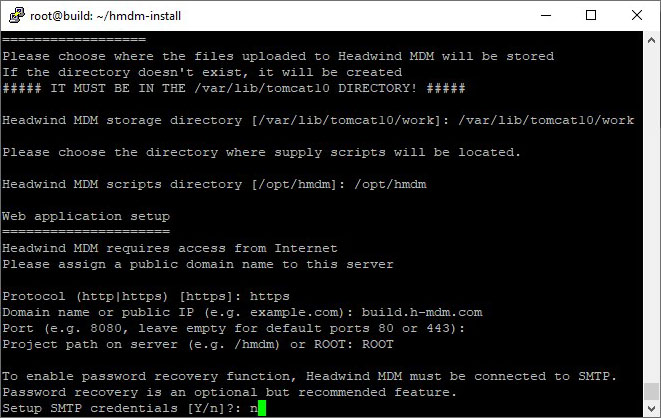
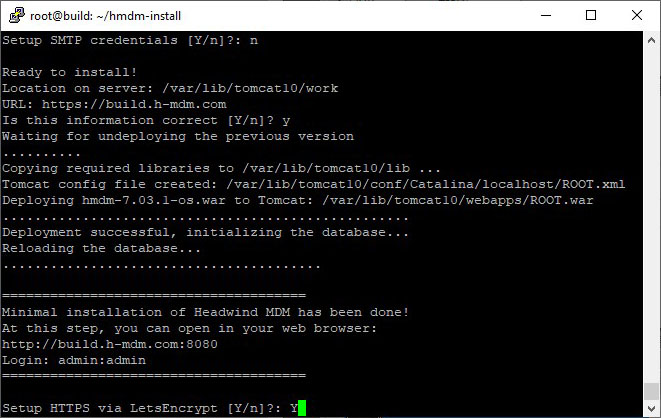
After this step, you can already check that Headwind MDM web panel can be opened by opening http://build.h-mdm.com:8080 in a web browser.
If you’re getting an error “Failed to deploy WAR file”, just restart the installer script.
Further, installer configures HTTPS via LetsEncrypt (a free HTTPS certificate engine). LetsEncrypt will ask you to enter your email. You can safely share your email because LetsEncrypt never sends any spam.
To finalize the installation, configure regular certificate renewal, and download required APK files. We recommend answering “YES” to all installer steps.
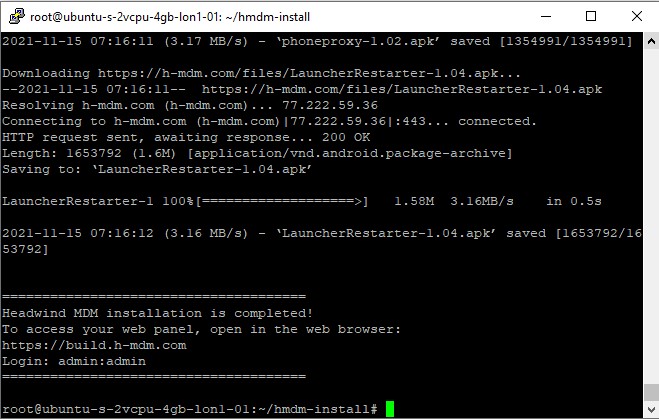
5. Validate the installation
Make sure the administrator panel is working. https://build.h-mdm.com should open the web panel.
The default login and password is admin:admin (you will be prompted to change the password – choose a strong one!)
If you got any issues while installing Headwind MDM, you need to look into Tomcat logs to diagnose the problem. Tomcat 10 writes its logs to the system log of Linux:
journalctl -u tomcat10.service
6. Enroll devices
Open the Devices section and click the QR code icon.
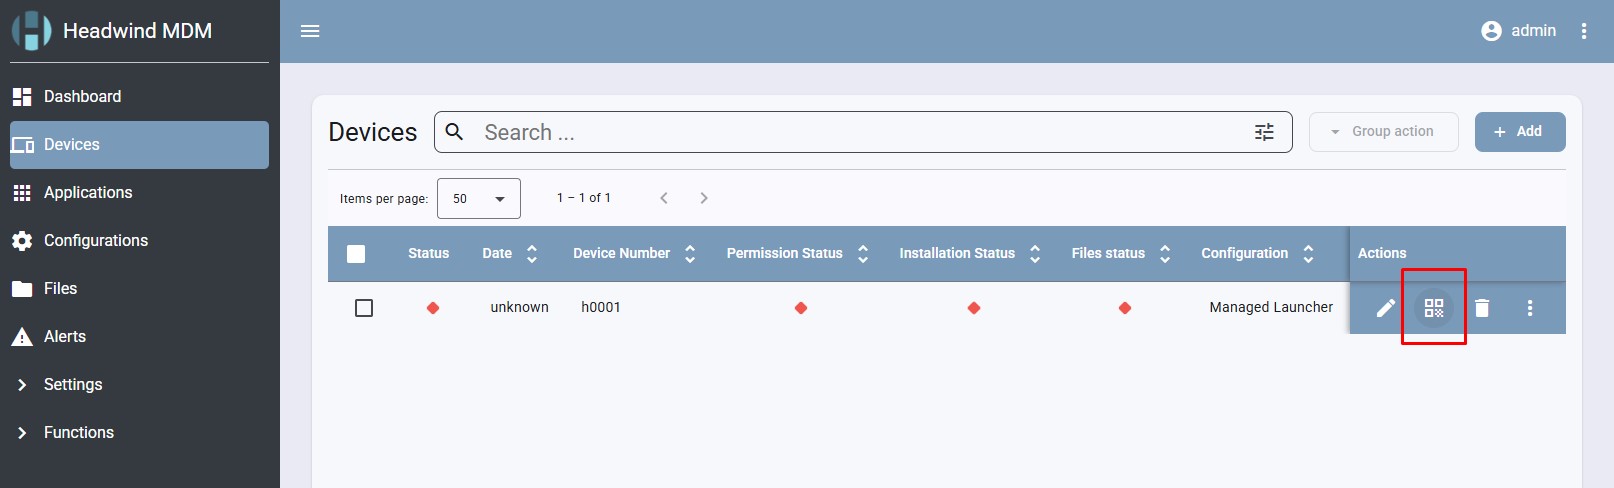
If you see the QR code, Headwind MDM installation is completed, congratulations!
What’s next?
You may proceed with the device enrollment. To enroll the device, follow this instruction or watch the video manual.